The most common explanation for a shank goes like this:
"You're standing too close to the ball."
That's not wrong. It's genuinely one of the causes. But it's only one of several, and as the previous piece showed, when a swing-path issue is the real cause, this advice doesn't help at all.
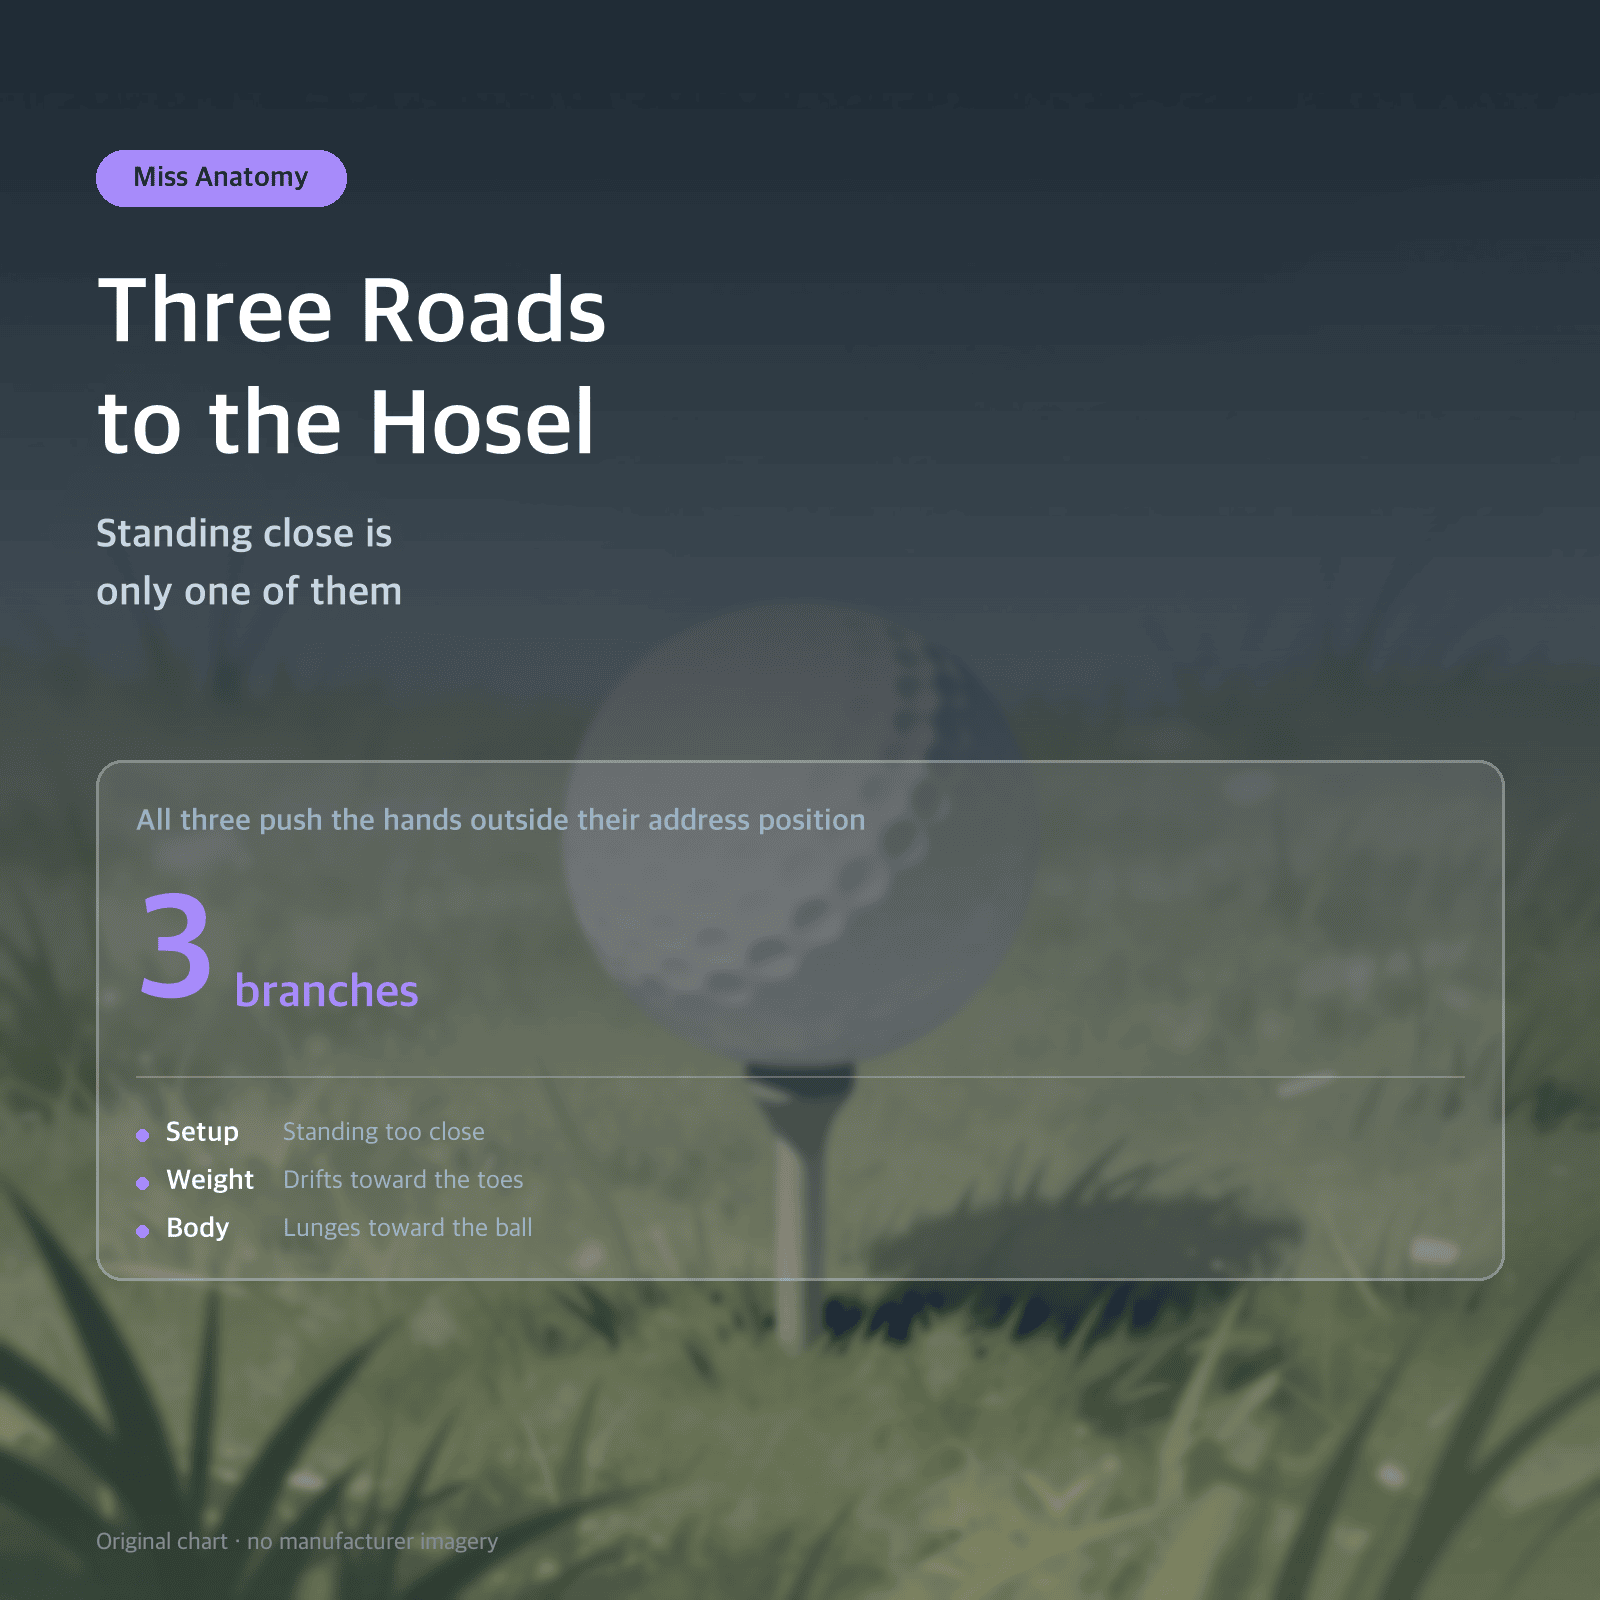
This piece covers three branches that come from the body and the setup.
1. One thing they share
All three have something in common.
At impact, the hands end up outside where they were at address.
If the club moves even a few inches closer to the ball than where it was set up, what was meant to strike the center of the face instead lands on the hosel. A few inches is enough.
So the question behind all three branches is the same: what's pushing the hands outward?
2. Branch one — standing too close
Starting with the most familiar one.
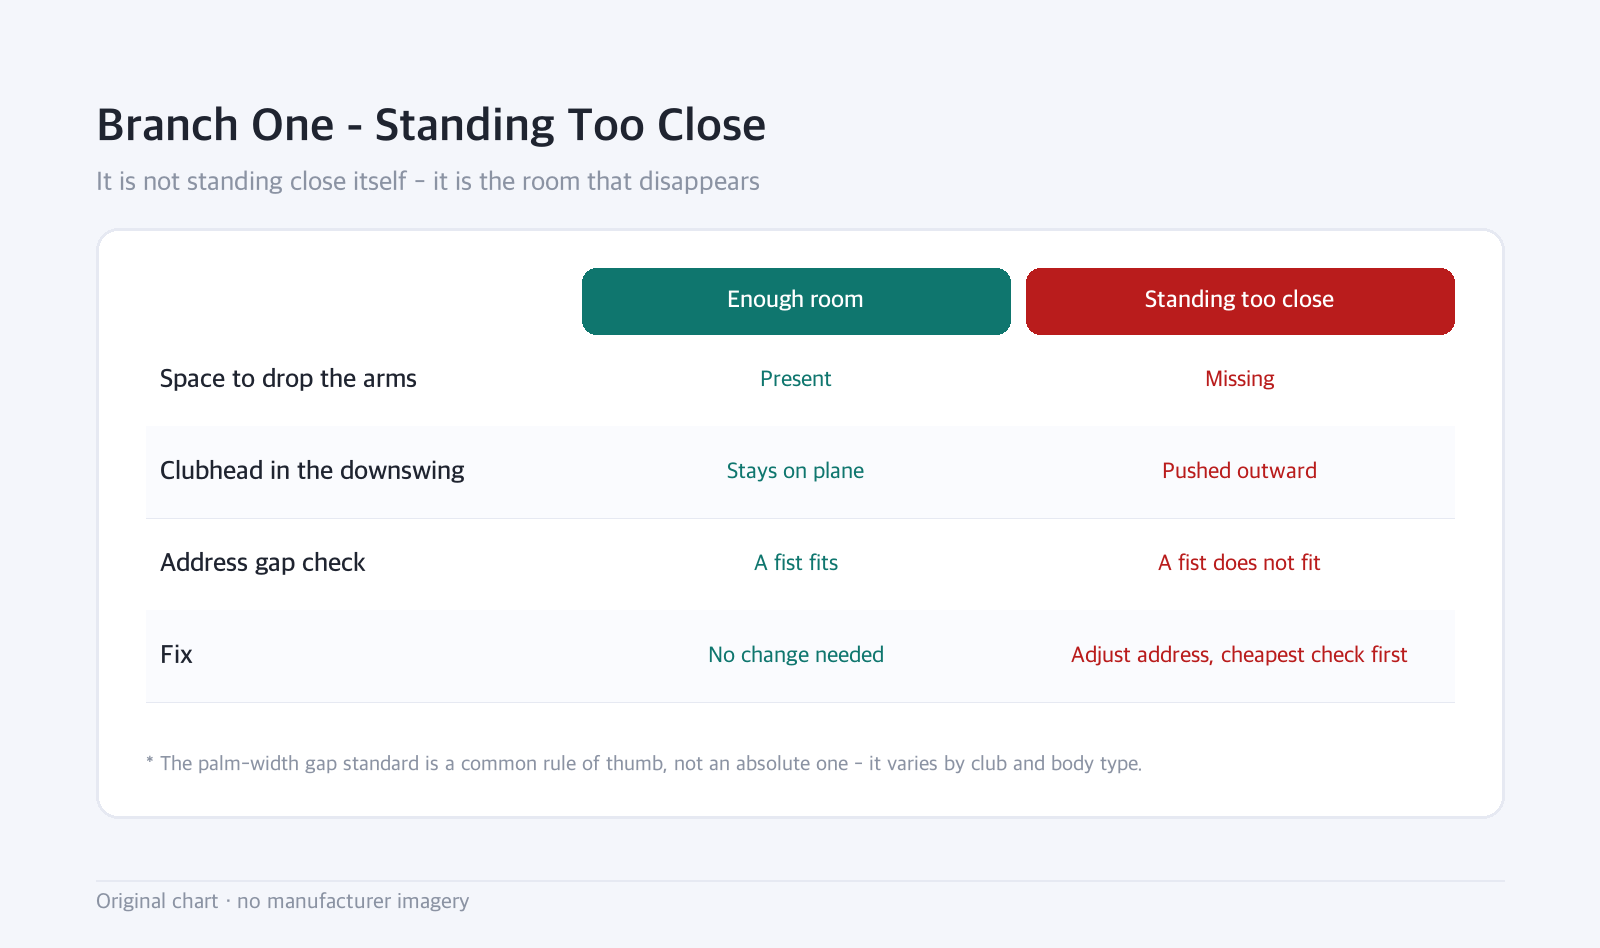
Stand close to the ball and there's no room between the body and the hands. The downswing has nowhere for the arms to drop.
The clubhead gets pushed outward as a result — there's simply nowhere else for it to go.
Here's a way to check: a common rule of thumb is about a palm's width between the end of the grip and the body at address. It varies by club and by body type, so it isn't an absolute standard. Still, if you can't fit a fist, it's worth a look.
Worth noting: it's not standing close itself that's the problem — it's the loss of room for the arms that follows from it. Same structure as early extension, covered elsewhere.
3. Branch two — weight drifts toward the toes
This one is less well known.
This is when, during the downswing, weight flows forward, toward the toes. The upper body follows it toward the ball.
Even a small shift in the upper body translates into a larger shift in the arms, hands, and face. A few inches outward is enough.
This isn't about standing close. The setup is fine — it's that the golfer gets closer during the swing.
Signs of this branch:
- A feeling of falling forward after impact
- Footprints show pressure marks toward the toes
- Adjusting the address doesn't fix it, no matter how much you tweak it
That last point is the tell. If setup adjustments don't fix it, this isn't branch one.
4. Branch three — lunging at the ball
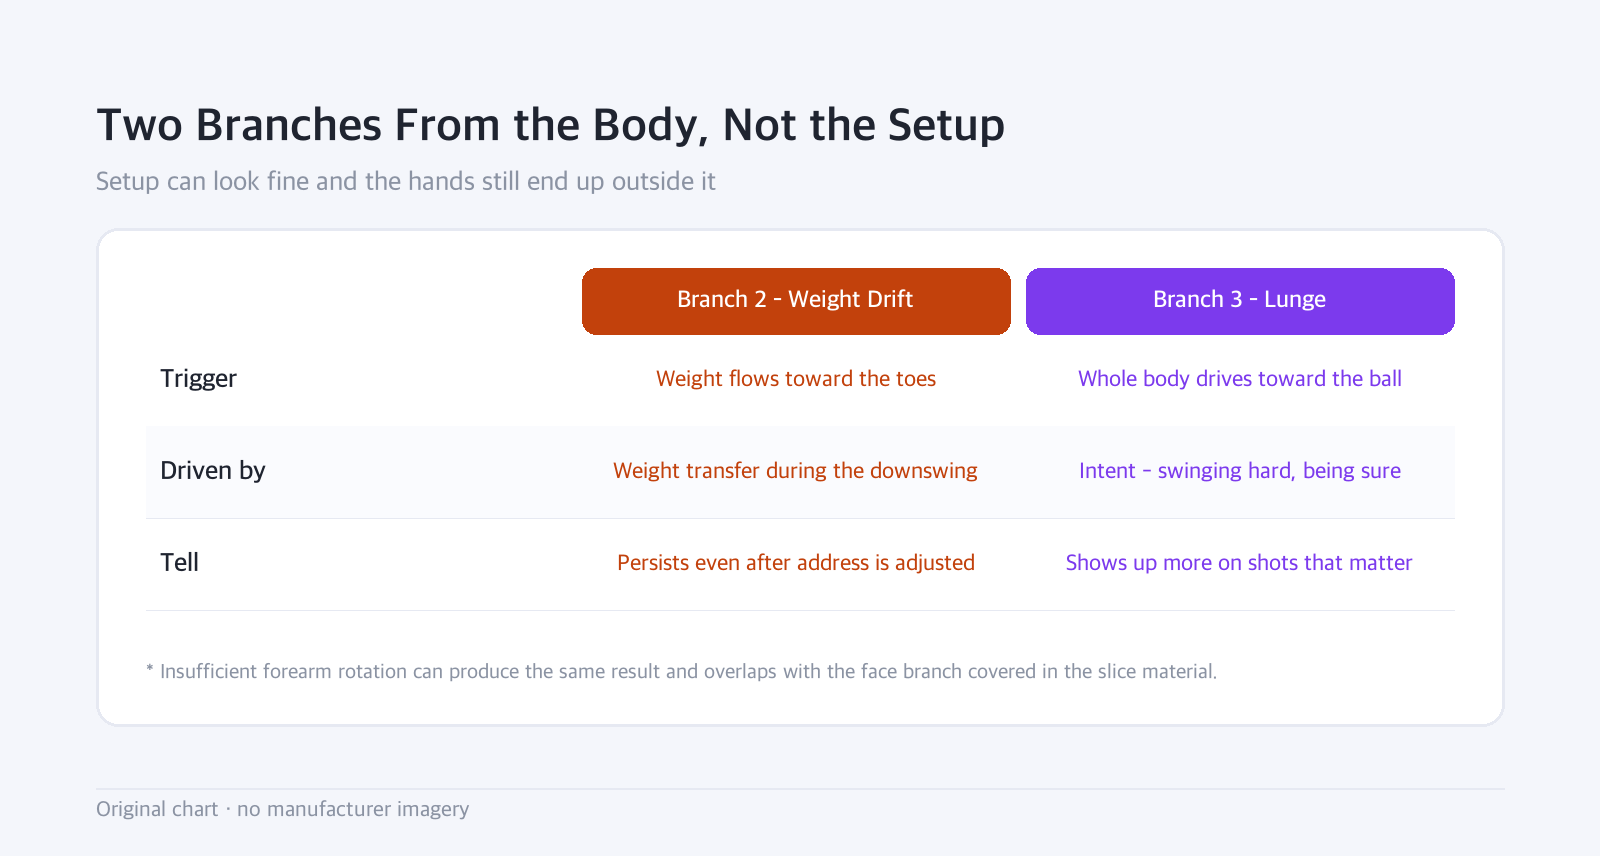
The third is a lunge — the whole body driving toward the ball during the downswing.
The result looks the same as the first two, but the character is different. This one usually comes from intent — the body drives forward when trying to swing hard, or trying to make sure of solid contact.
The signs differ accordingly:
- Shows up more when swinging hard
- Shows up more on shots that matter
- Absent on practice swings, but appears once a ball is in play
Similar in character to the snap hook covered elsewhere. It depends on timing and intent, so it isn't consistent.
One more thing belongs here. Insufficient forearm rotation produces the same result. If the face doesn't return in time, the hosel is left exposed. This overlaps with the face branch discussed in the slice material.
5. Order of checking, branch by branch
First, check the address gap. This is the cheapest. If a fist doesn't fit, try adjusting it.
Second, check if it persists after adjustment. If it does, this isn't setup — it's movement during the swing.
Third, try backing off the intensity. If it disappears, that's branch three; if it stays, that's branch two.
Fourth, if it still doesn't clear up, look at swing path — the two branches from the previous piece.
There's a reason for this order. Setup can be fixed alone; weight and lunge are harder; path, if misdiagnosed, makes things worse. Cheap and safe comes first.
6. The same caution applies here
Branches two and three are about body movement.
Same as what was said about early extension and the snap hook elsewhere: it's hard to tell from a written description whether the cause is habit or a physical constraint, and pushing hard on the wrong guess tends to end in injury.
So instead of a fix, here's a standard.
- If it clears up with a setup adjustment, that's the end of it. The best outcome.
- If it clears up when you back off intensity, manage it with intensity for now, and look at the underlying cause separately.
- If neither works, video or a lesson pays off. As noted in the previous piece, this is a miss where a wrong guess costs more.
7. Who this is useful for
- Golfers whose shank persists after adjusting address — it isn't the setup branch.
- Golfers who only get it when swinging hard — may be the lunge branch.
- Golfers who feel themselves falling forward at impact — the weight branch.
- Golfers who've never measured their address gap — the cheapest check available.
This is less useful for:
- Golfers whose cause is swing path — the previous piece covers that.
- Golfers who only get it with a wedge — see the next piece.
8. What we could not confirm
- The basis for the "palm's width" gap standard — it's a common rule of thumb, and it varies by body type and club.
- The statistical correlation between weight transfer and shanks — the mechanism is described, but we could not confirm figures.
- The actual distribution across the five causes — no data on which is most common.
- What share of shanks insufficient forearm rotation accounts for on its own
In one line
What these share is that the hands end up outside their address position at impact, and a few inches is enough.
Three paths lead there: standing too close, weight drifting forward, and lunging toward the ball.
Checking each carries a different cost. The address gap is cheapest, and if that fixes it, you're done. If it doesn't, move to the next.
This piece summarizes general instruction concepts and is not personalized coaching advice. Ball flight fixes depend on individual swing mechanics — a launch monitor session or certified instructor can confirm what applies to you.